
Hello again, faithful readers. For today's lesson, we will be learning the correct way to restring and tune an electric guitar. I almost wasn't going to post this because it is so basic. But, as with many basic tasks, there are a lot of people who know how to do it, but can't really do it right. If you are a new guitarist, this is an essential piece of maintenance work, because guitar shops usually charge way too much for this task. Of course, I'm kinda cheap, so even 5 bucks is too much for me, considering that I can easily do it myself. Follow the instructions below and you can, too.
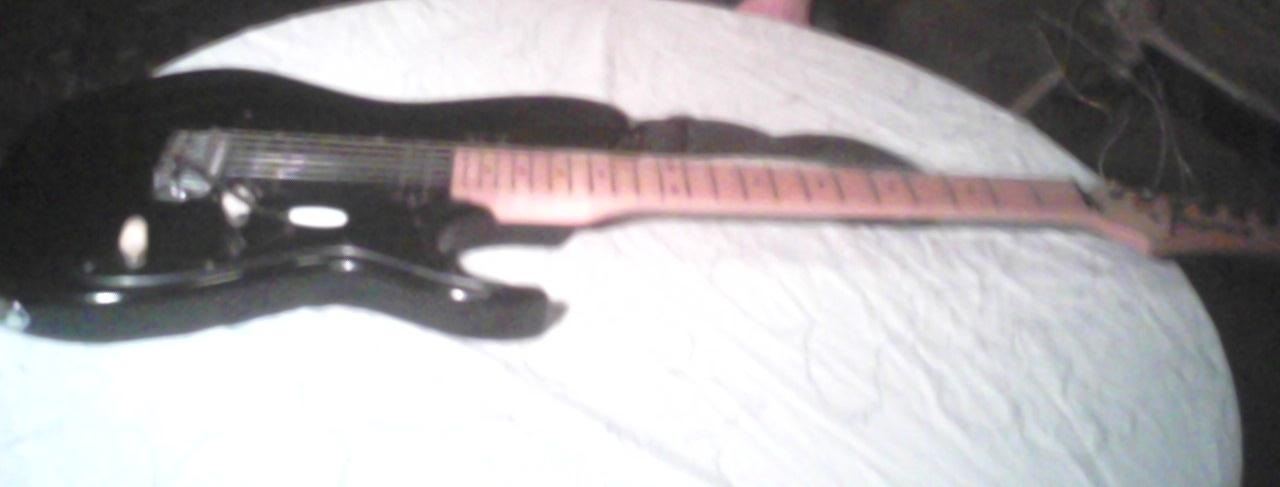
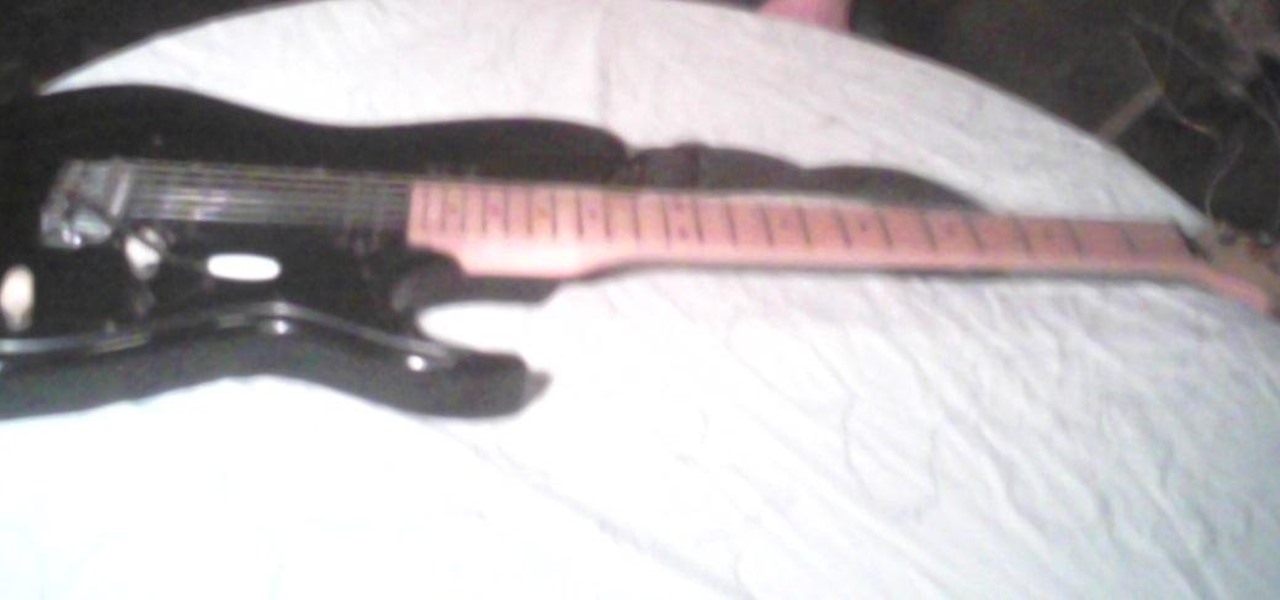
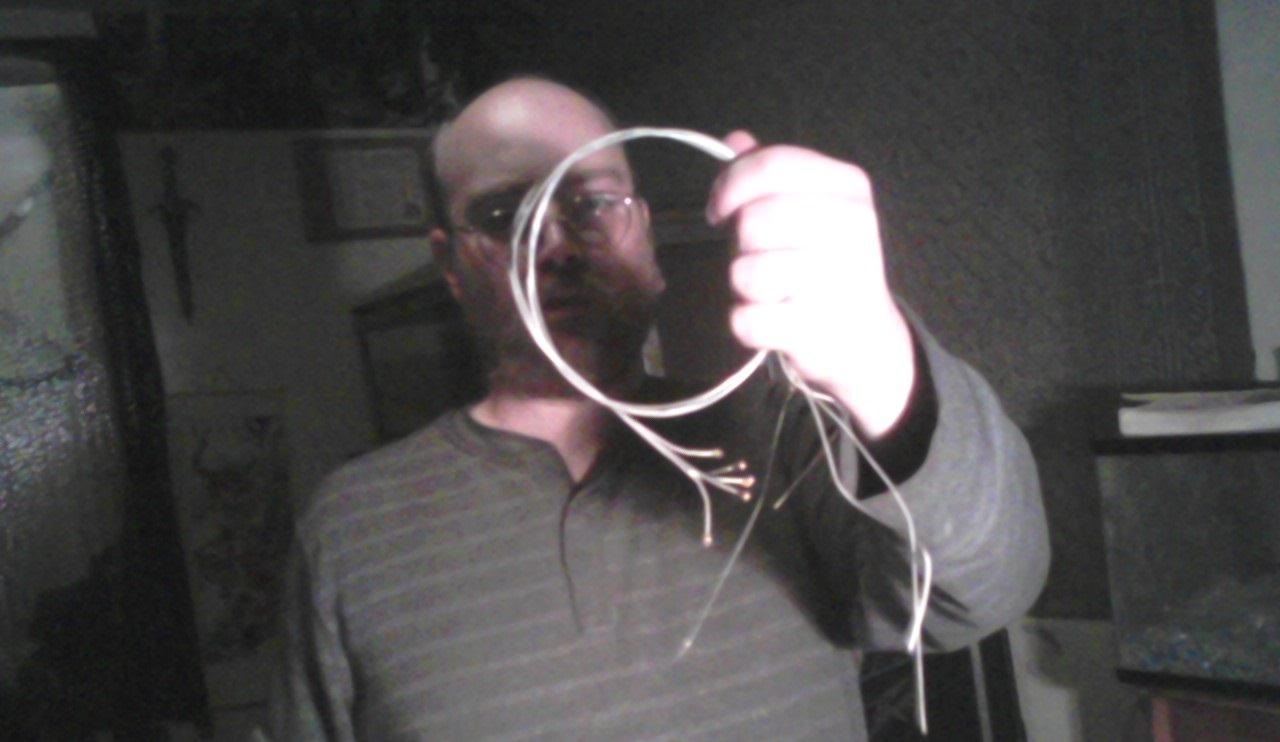
Yeah, that's my baby, right there...an RX-series Ibanez that I've been playing for about 15 years now. This guitar is pretty standard, but if your guitar has a different kind of setup than mine, the process might be slightly different. It shouldn't be hard to figure out. Most guitars are restrung about the same way and they all tune the same way.
First, a word about strings...there are many kinds out there, and they all play just a little bit differently. If you are a new guitarist, you might not notice a big difference but trust me, you will notice it later. This is the kind I always use:
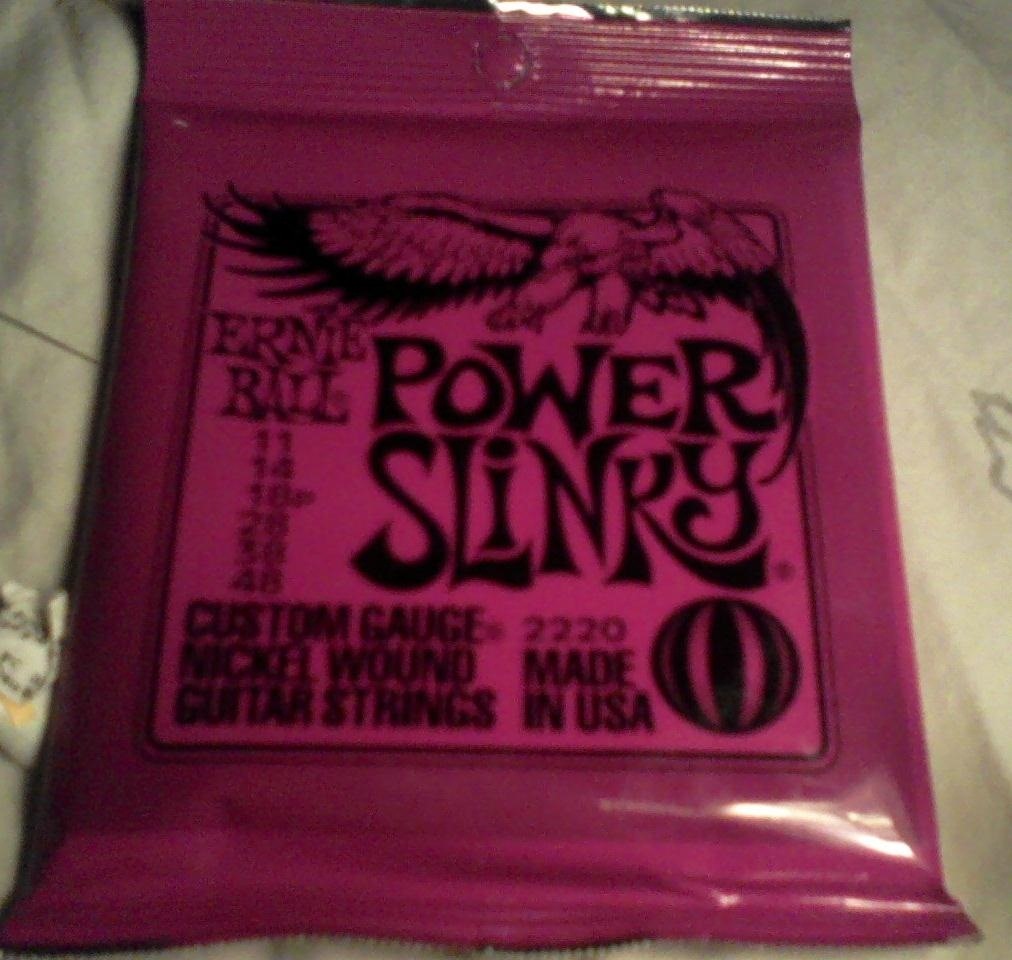
If you are playing mostly metal and hard rock, this brand is (in my opinion) the best. I chose them because they are nice and thick, which not only makes them more durable, but also gives the guitar a deeper sound that I like. I recommend you try these strings first, but it might take you awhile to figure out what kind of strings suit your style. Remember, there is no one kind of equipment that is better than all others...it's all about what fits your style.
Step 1: Preparing the Guitar
This step consists of removing the old strings and cleaning the areas under the strings. These areas are a real bitch to clean while the guitar has strings on it, so I always wait until my next restring to clean them.
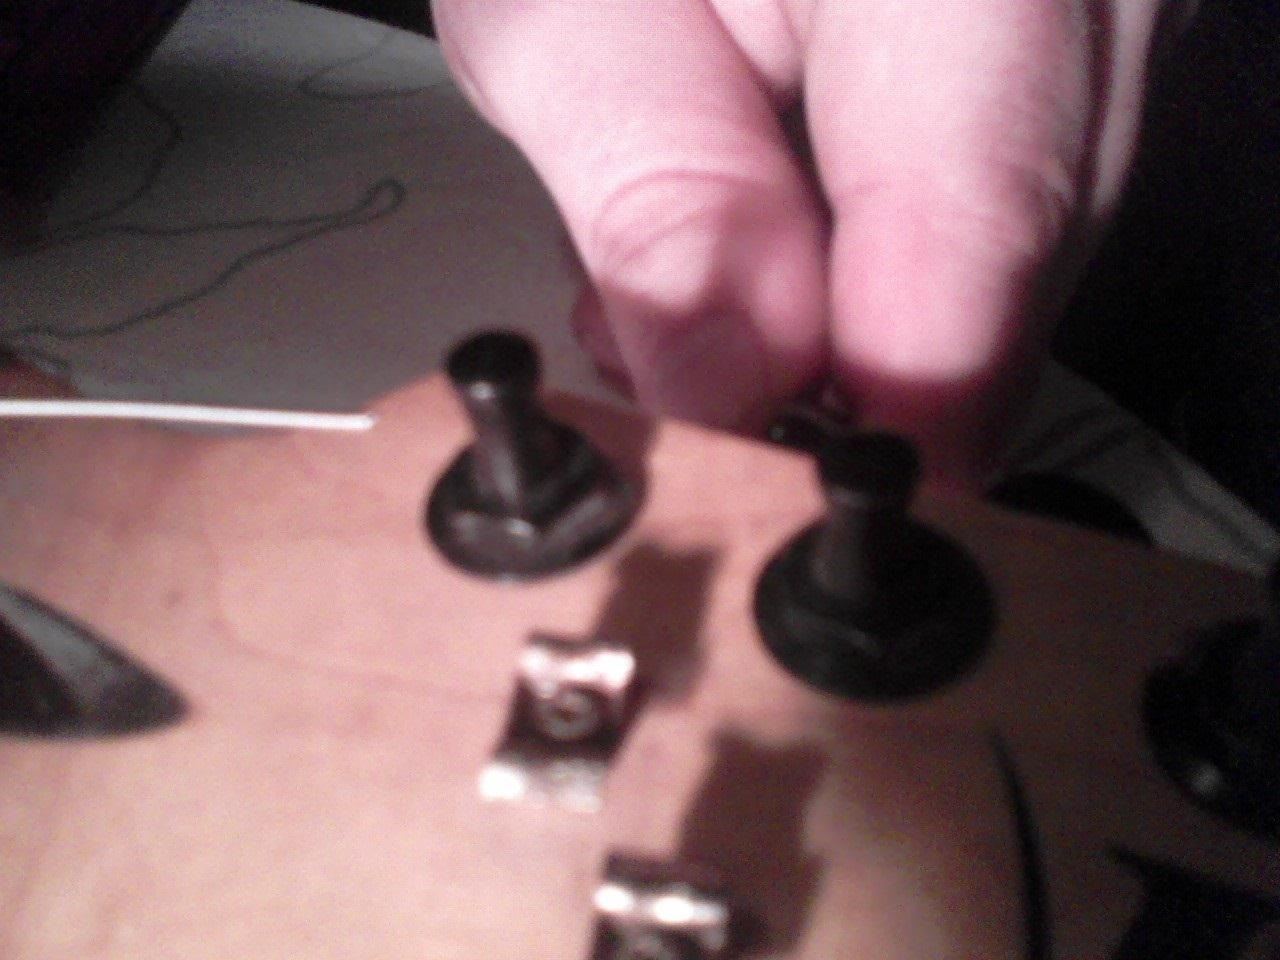
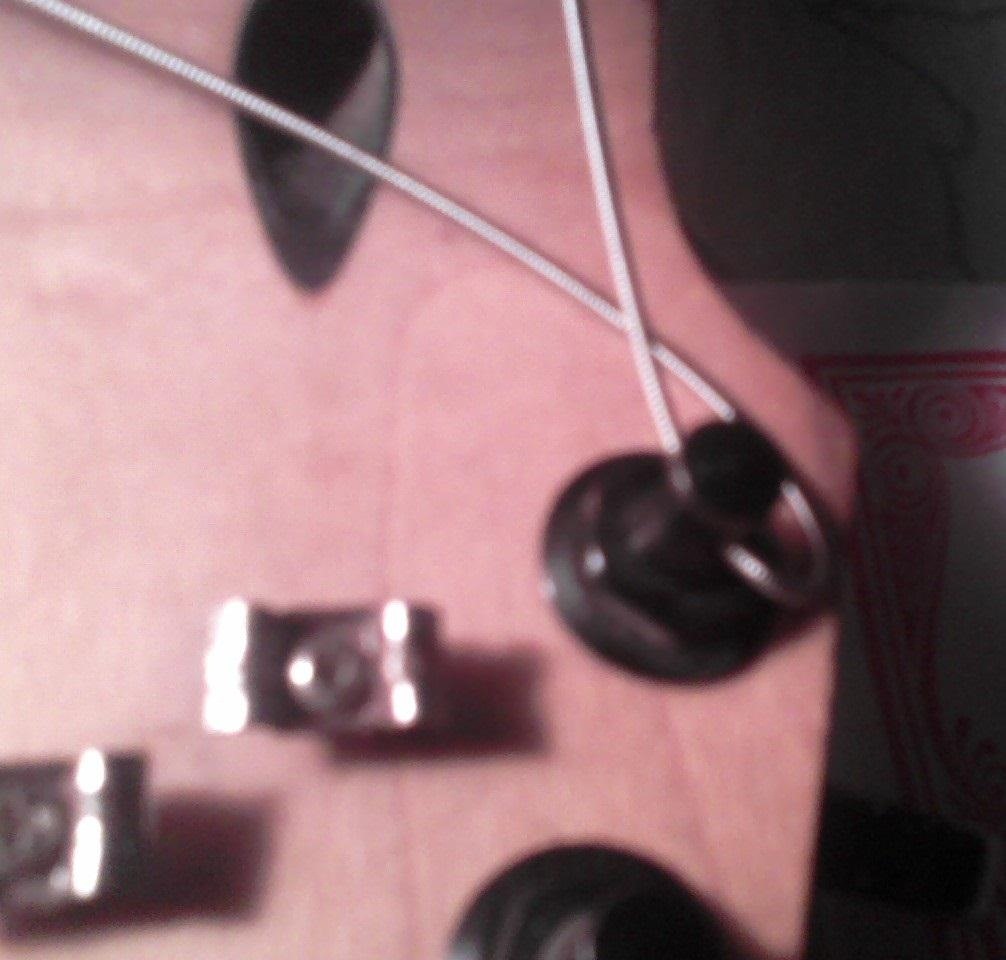
First, you will need to start winding these little pegs on the head of the guitar:
Use your finger on the string and make sure that it is getting looser, not tighter. If you over-tighten the string, it will naturally break and maybe even snap back and cut you. Don't laugh, it happens. As the string gets looser, you should be able to just unwind it from the peg-post with your fingers. If you really can't get the strings loose, just cut them with some wirecutters. If you have to use pliers, it means your hands need to be stronger.
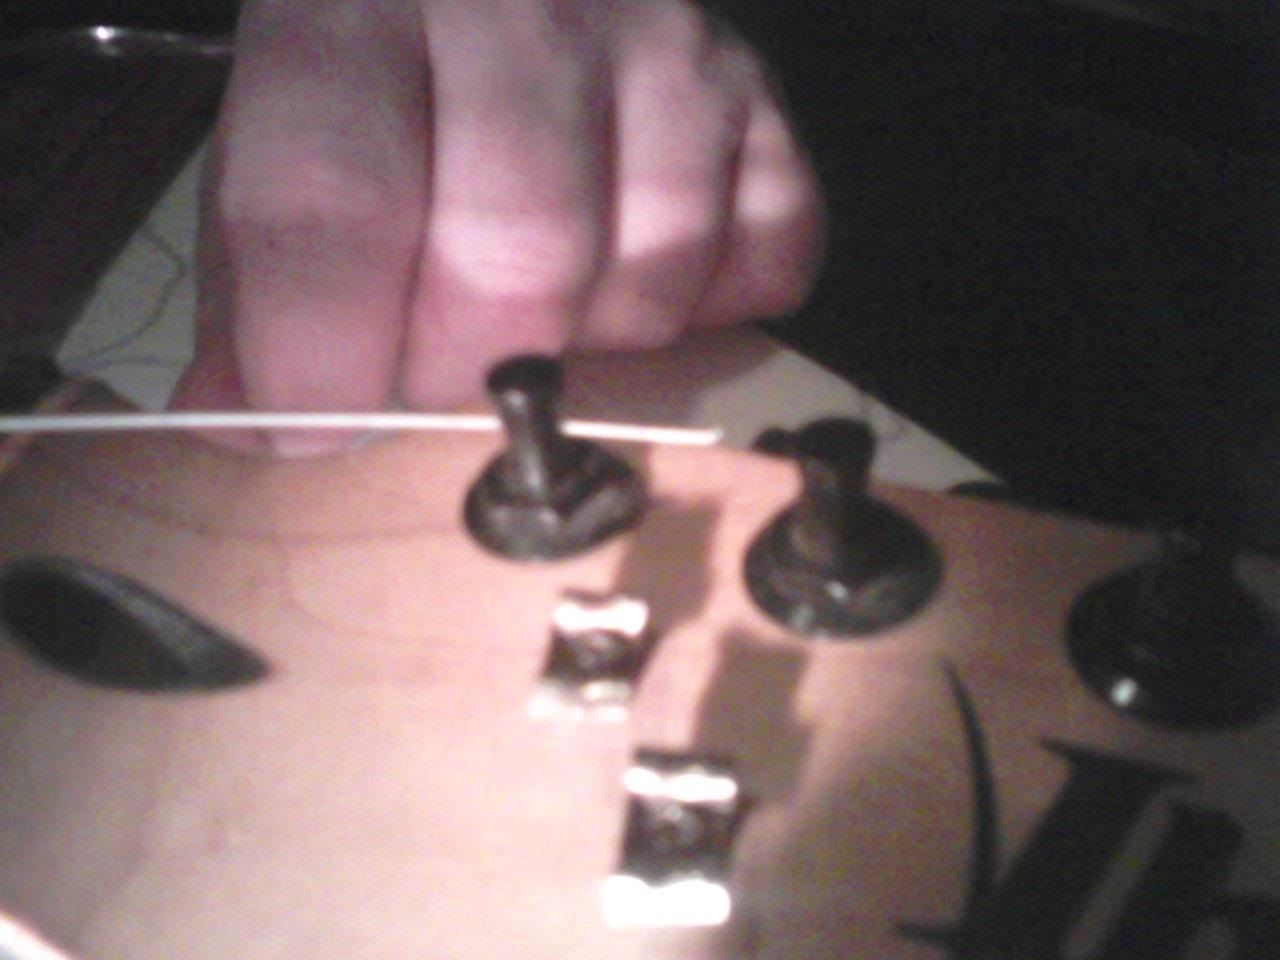
Now, locate the 6 small holes on the backside of your guitar. If you have a Les Paul-type bridge, your whole bridge piece will come off with the strings so you don't need to worry about this part. For the rest of us, though, here are the holes:
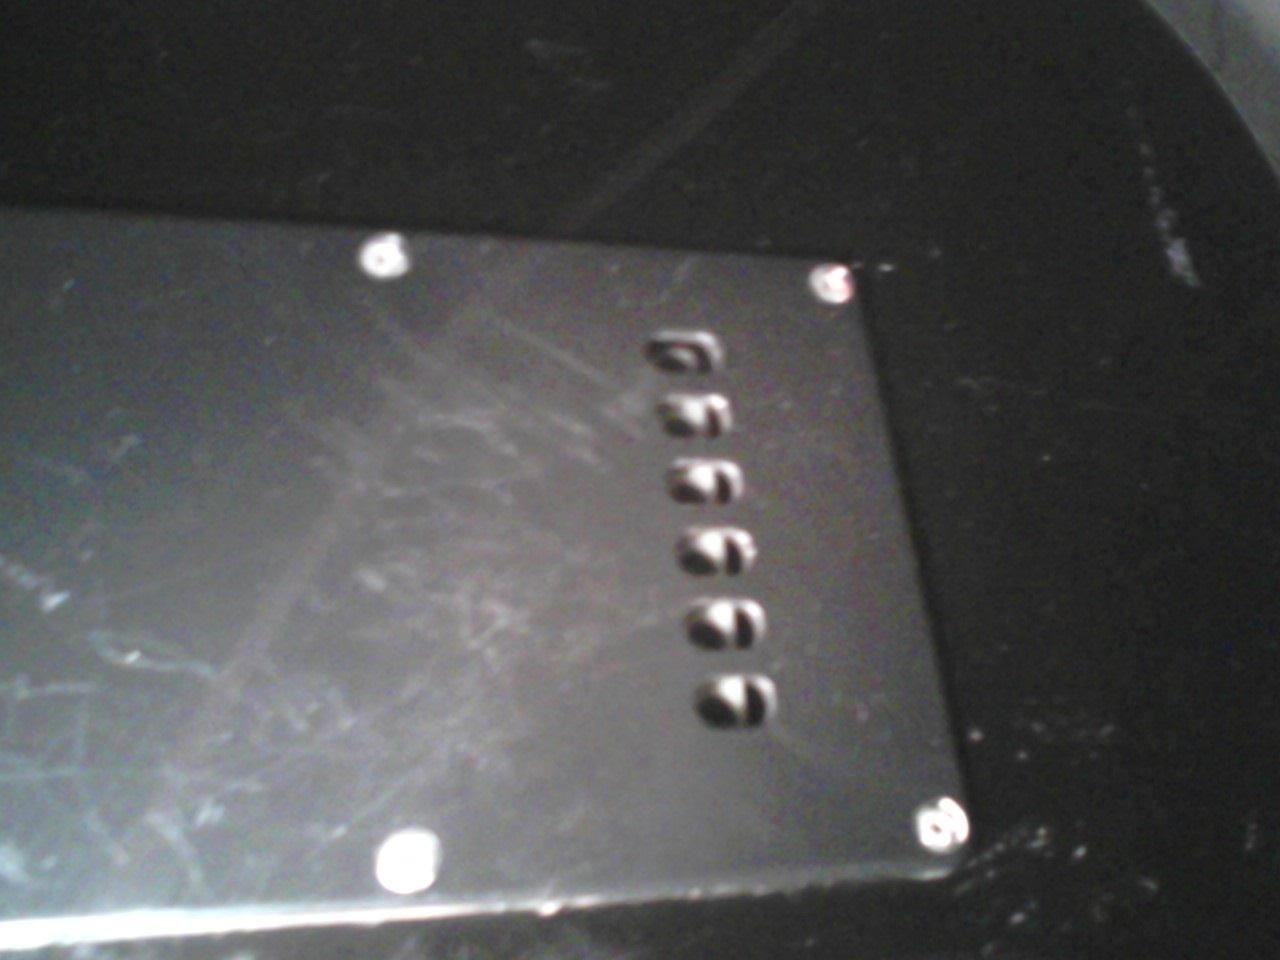
As you might guess, each string goes in a different hole. Now that your strings are no longer attached to the head, you should be able to push them right through the hole like so:
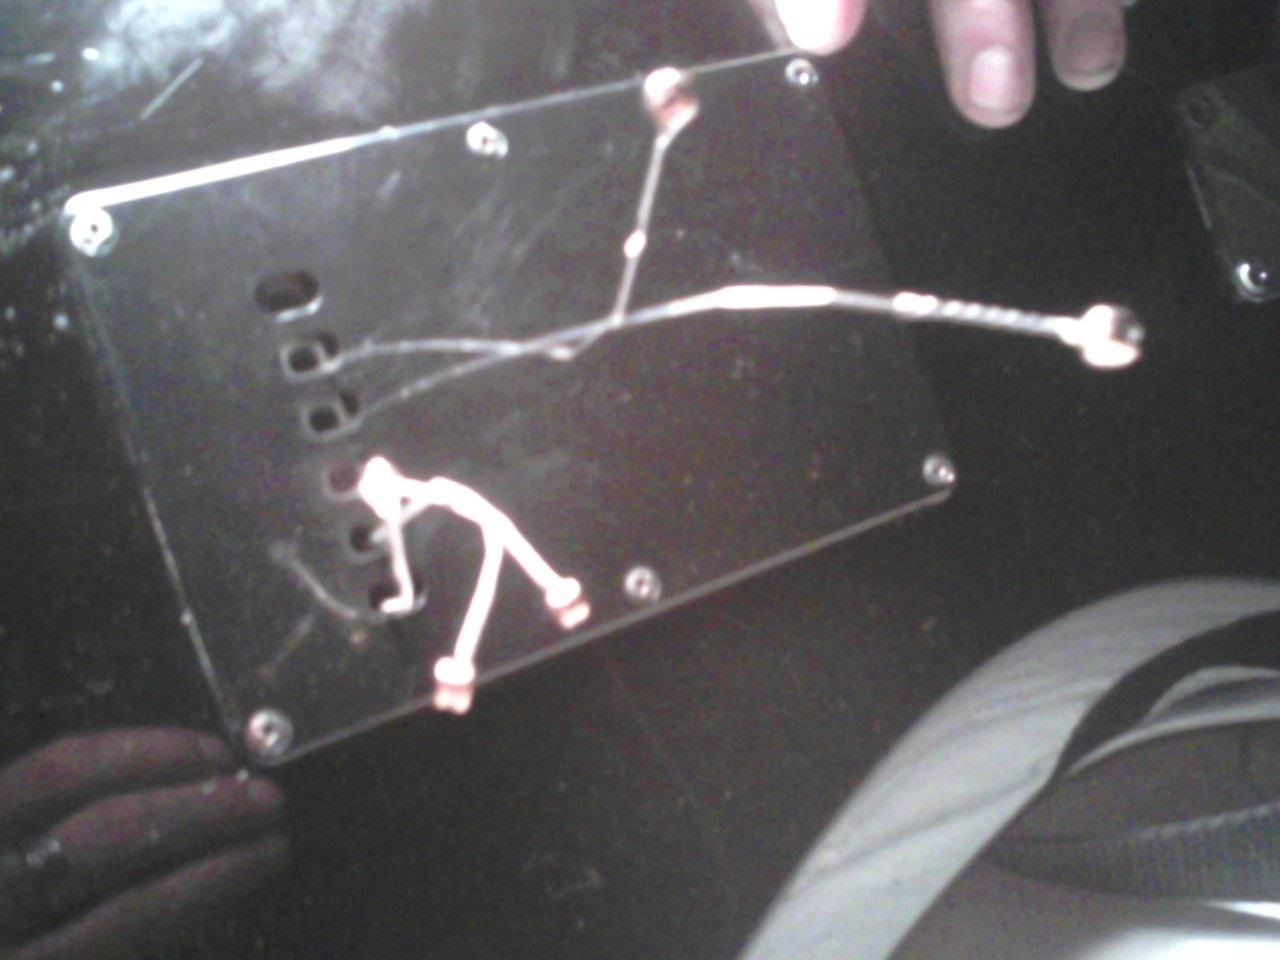
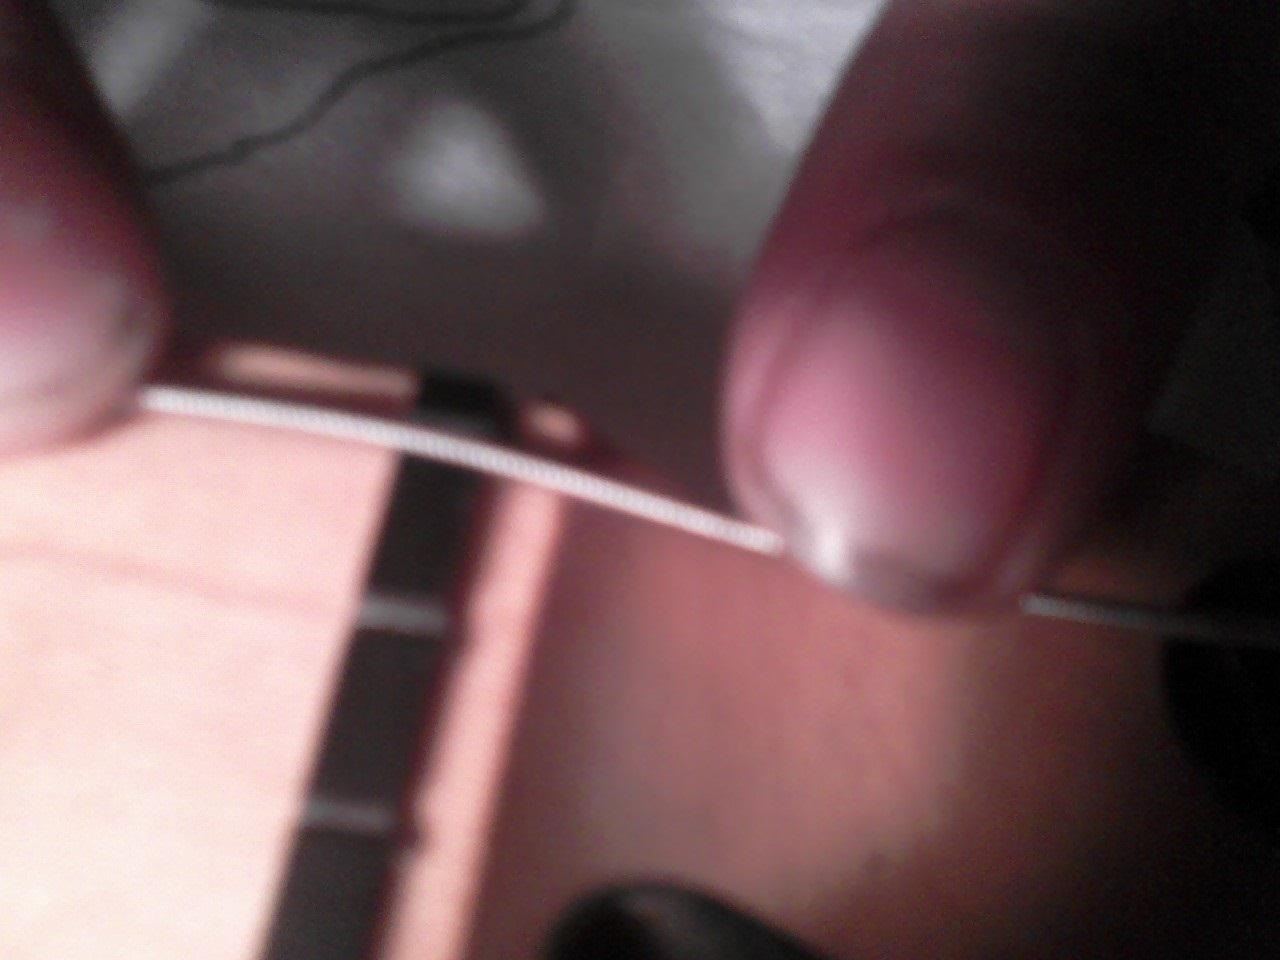
Now grab the "buttons" on the ends and pull the strings right on through. DON'T BE TOO FORCEFUL, THOUGH! The ends of the strings will be all twisted up, so you may need to carefully work them through the holes one string at a time. Naturally, if you cut your old strings off, this is not a problem.
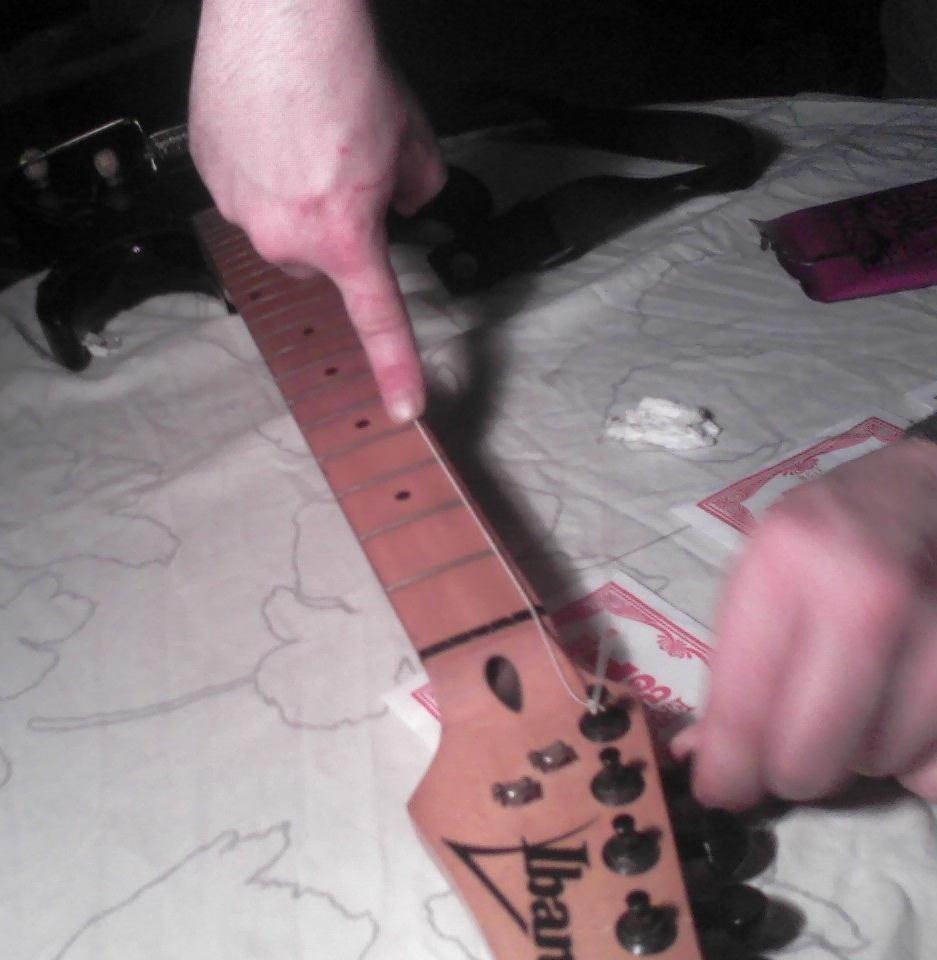
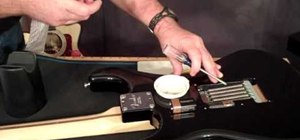
While you've got the strings off, go ahead and clean the fretboard (the place where you put your fingers). This is what my fretboard looked like before:
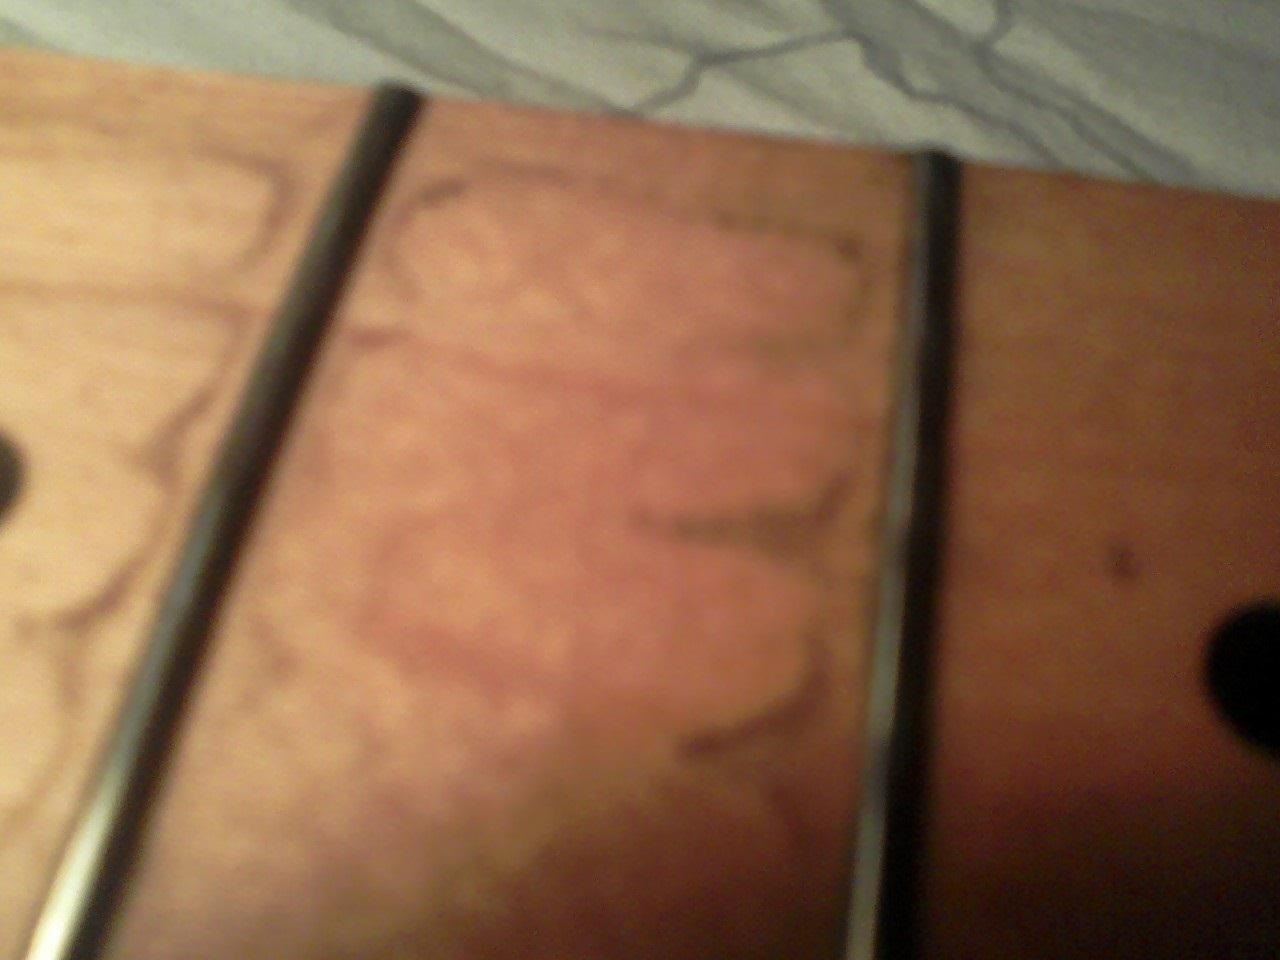
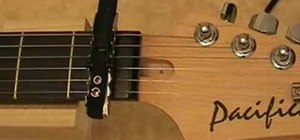
The best way to clean it is to just put some rubbing alcohol on a napkin and rub it down until all the dirt and grime comes off. When the fretboard is clean, move on to the area between the pickups, shown below:
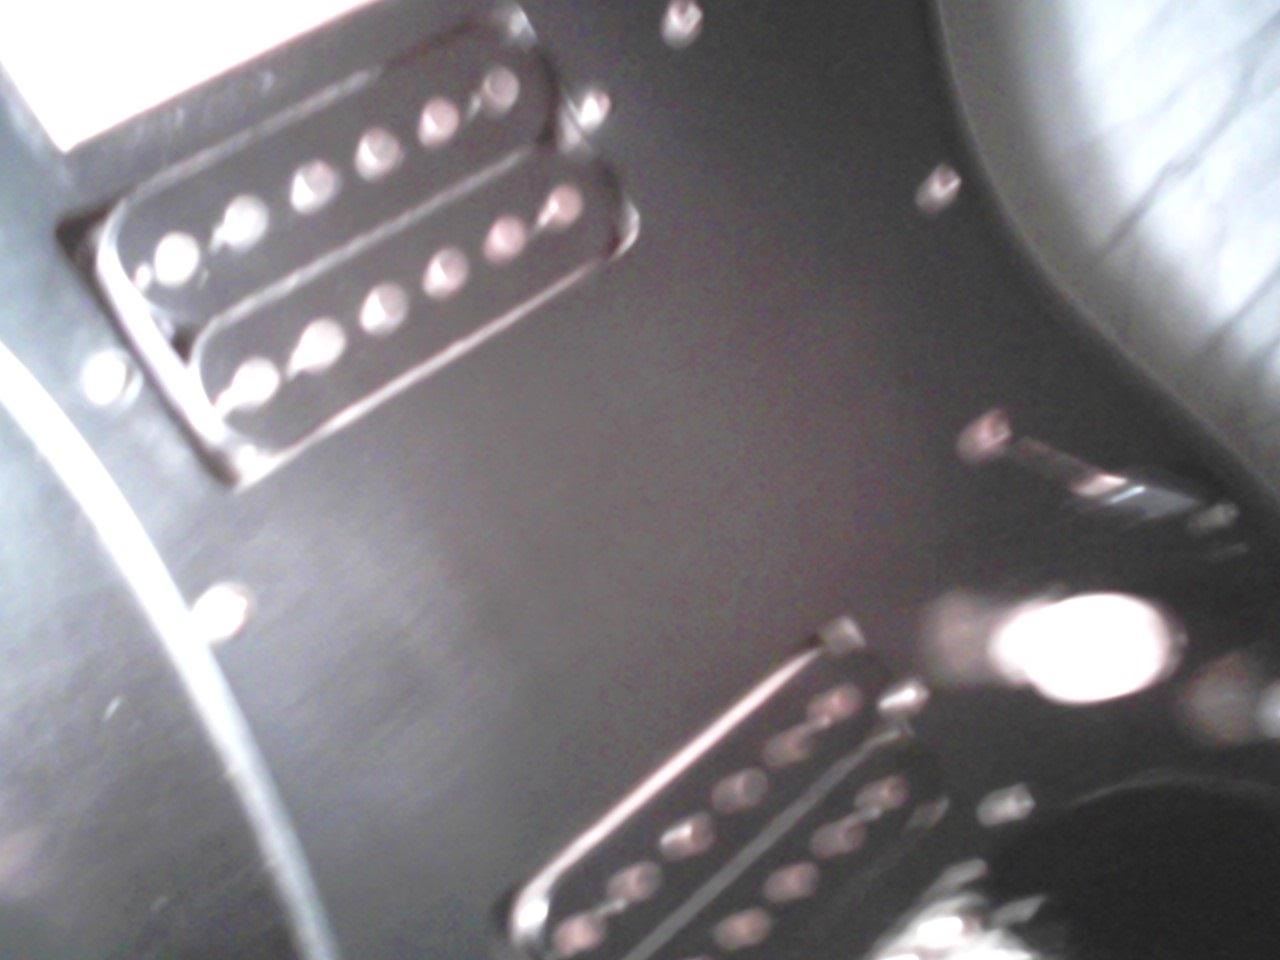
This area usually gets real filthy. Now, why use alcohol, you might ask, instead of water? Very simple...it evaporates much more quickly. Those two little boxes in the picture above are the electric pickups that make the guitar work. Getting water anywhere near these things doesn't seem safe to me. Once the pickups are done, you may want to give the head of the guitar a once-over if it is needed.
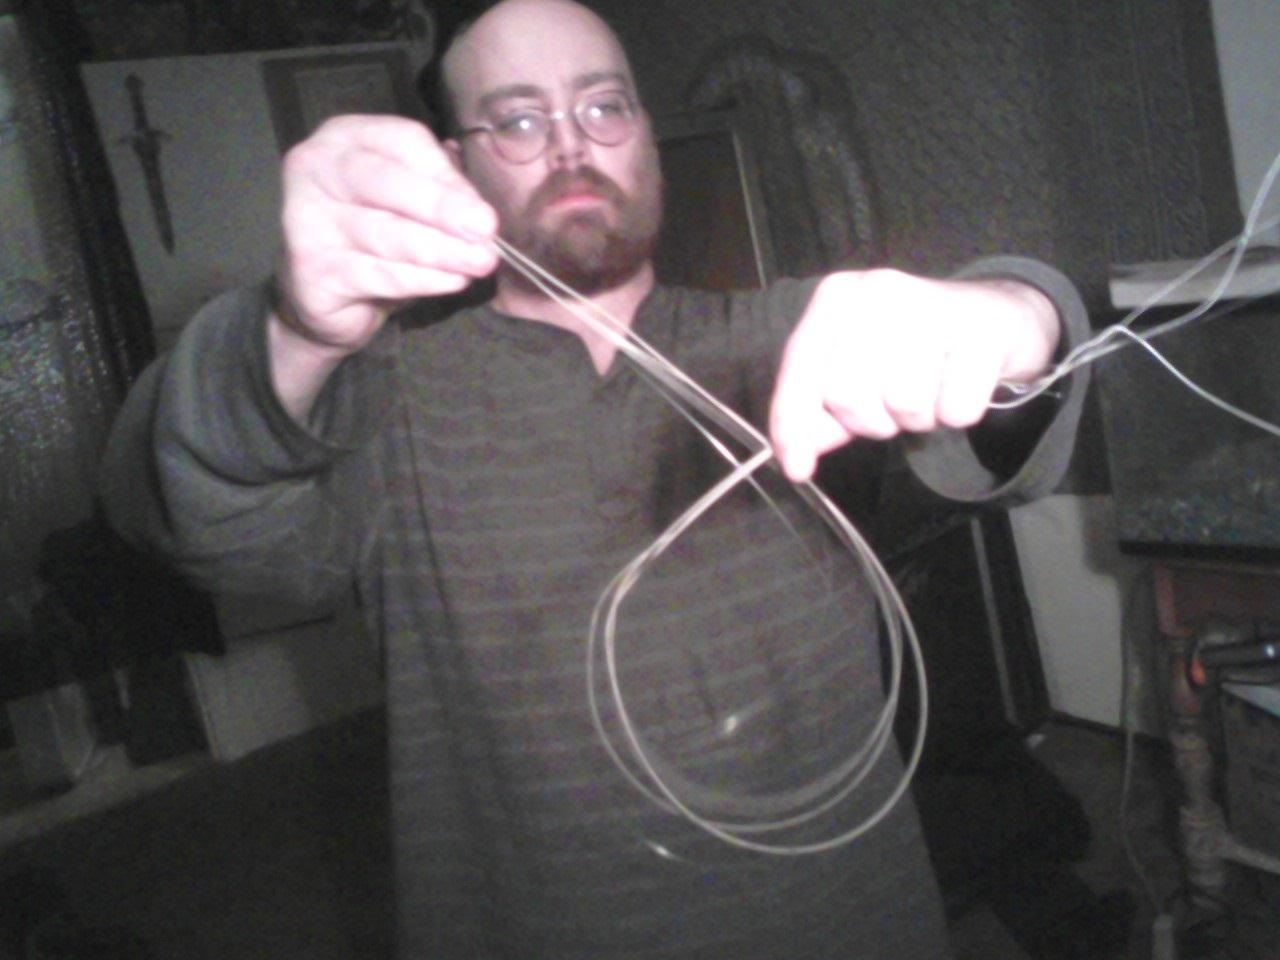
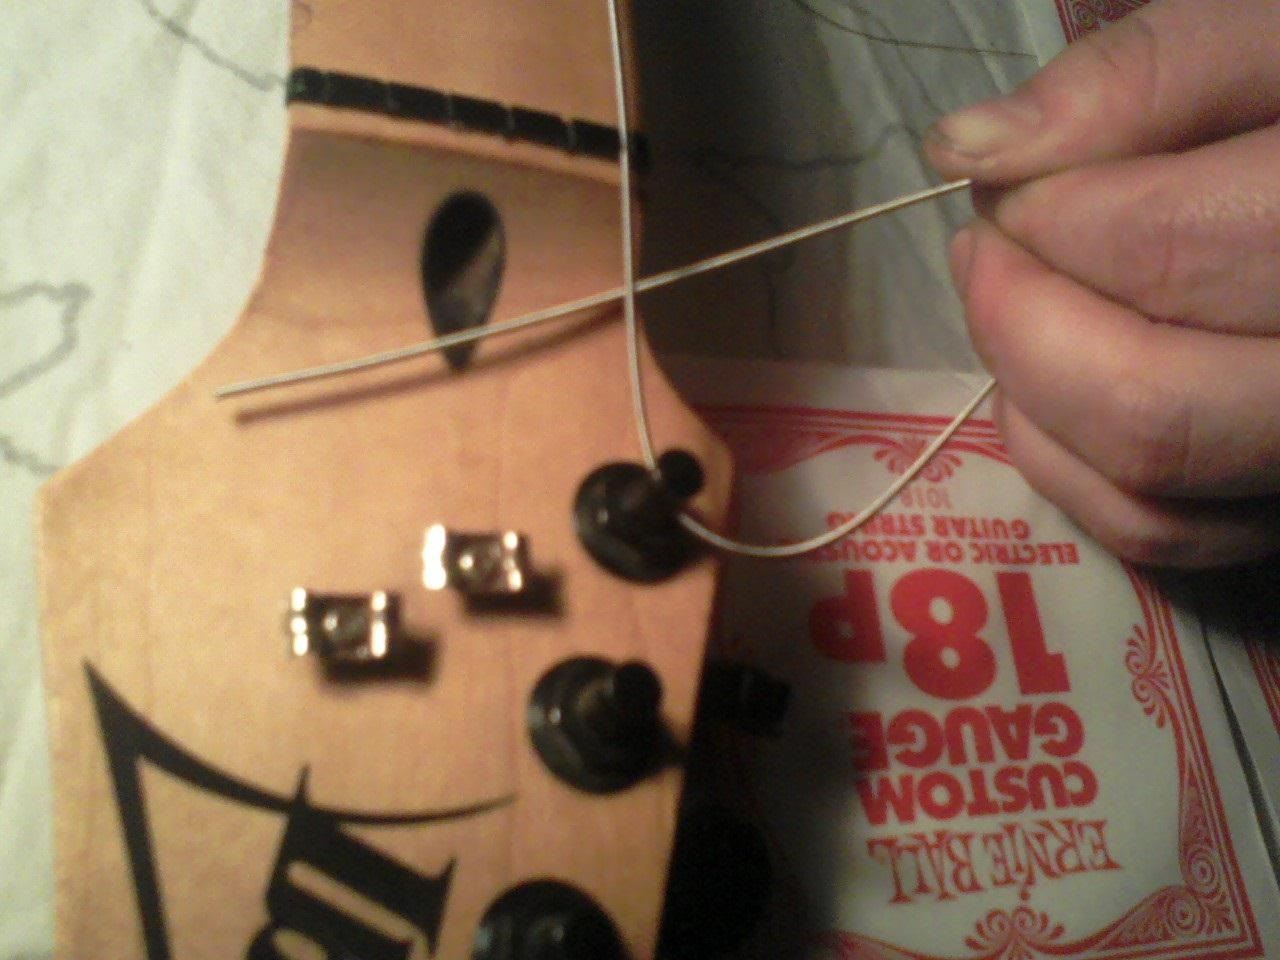
Now, you may not want to do this, but I always save my old strings. It is rare for more than one string to break at a time, which means you will usually have 5 good strings that you can re-use later if you need to. If you want to save your strings, coil them up like so:
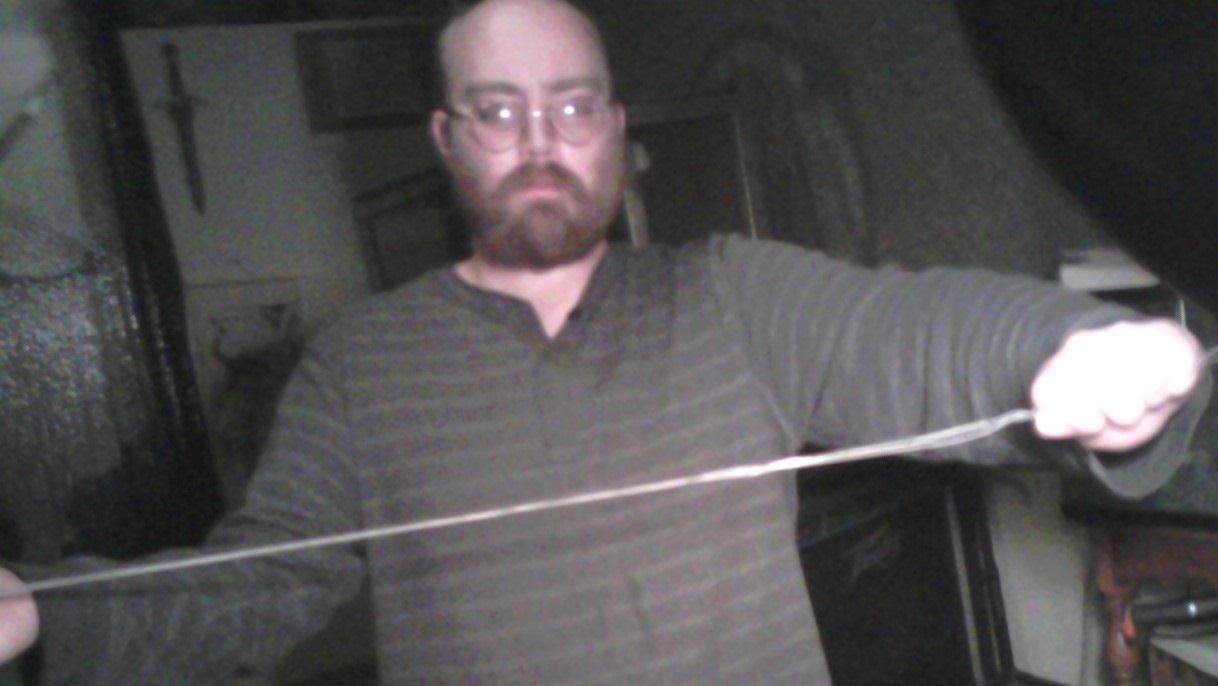
Naturally, if you chose to cut your strings off, you probably won't be able to save them. I always save my spares because strings are only sold in packs of 6. My strings cost about 7 bucks a pack and I hate having to spend 7 bucks every time a string breaks.
Now that the guitar is unstrung and clean, we can move on the next step.
Step 2: Stringing the Guitar
Ok, first, you need to look at your strings. On the packaging, you should see a set of 6 numbers, kinda like this:
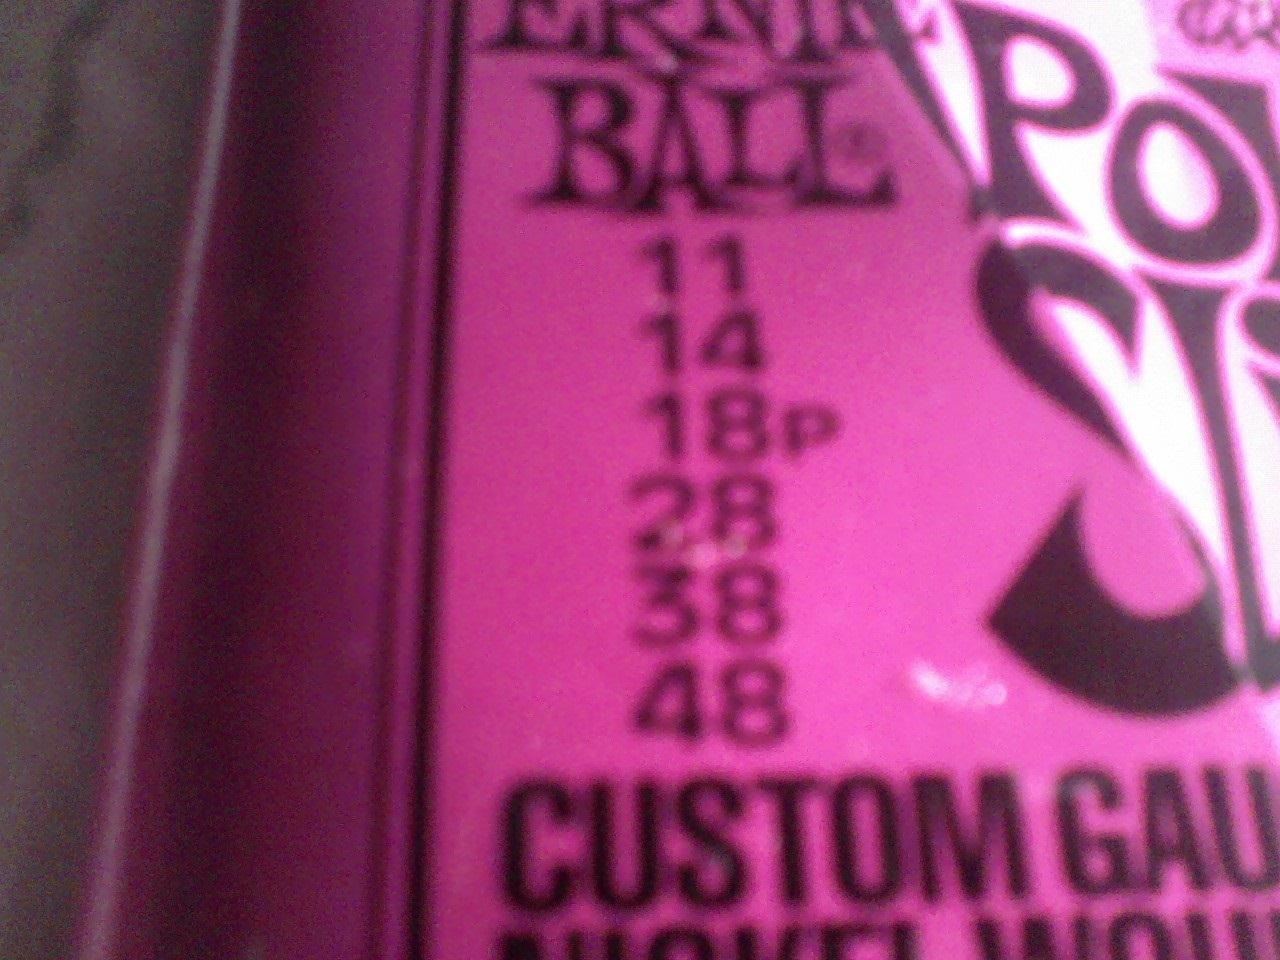
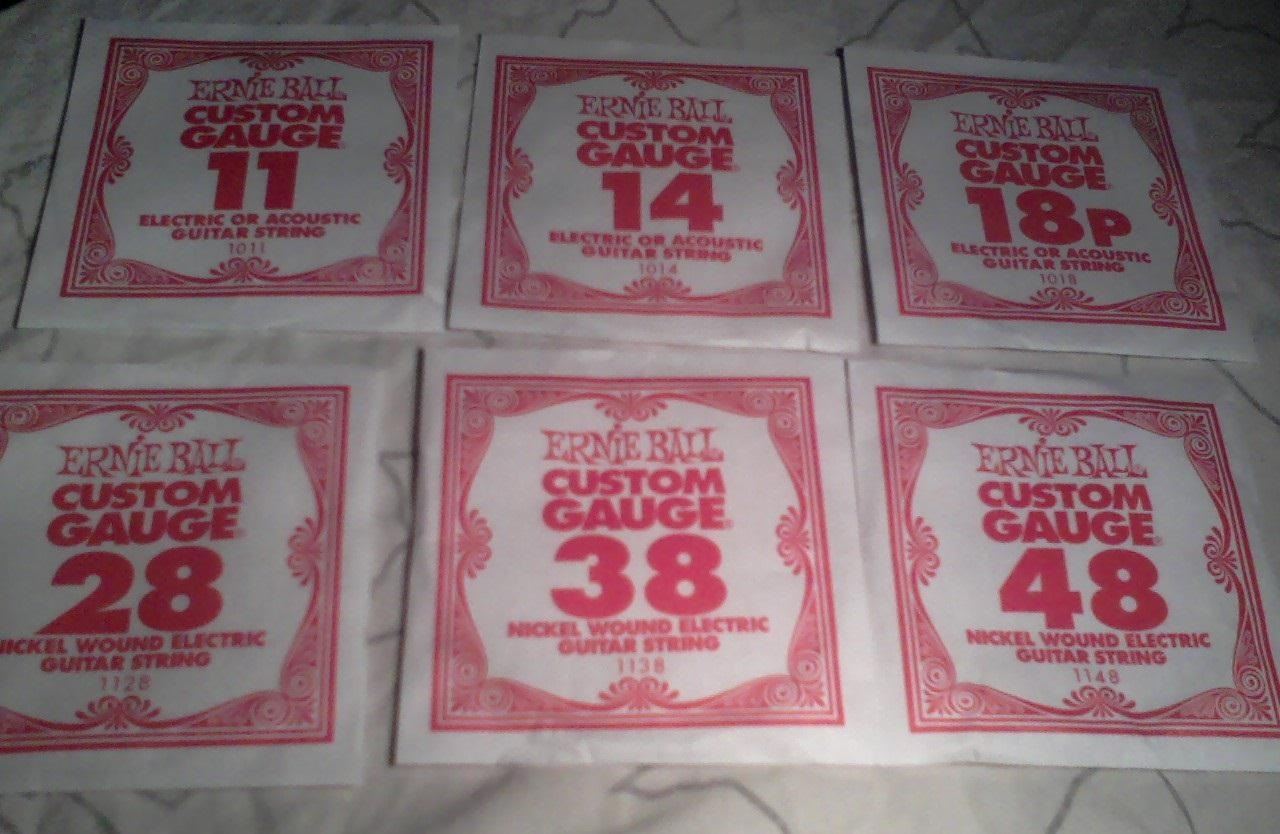
These are the sizes of your strings. The highest number (48 in this case) is the biggest string, which goes on top. The lowest number (11 here) is the smallest string, which goes on the bottom. The strings are always put on in order from biggest at the top to smallest at the bottom. By looking at this set of numbers you know the exact gauges of all six strings from top to bottom. For some odd reason, they list the smallest string first and the biggest string last. Each string should be individually packaged and labeled:
So, we begin with our big 48 string. Take the string by the button end and whip it out. It should uncoil itself. As I said, it goes on top, so stick the non-button end of the string into the appropriate hole on the back of the guitar:
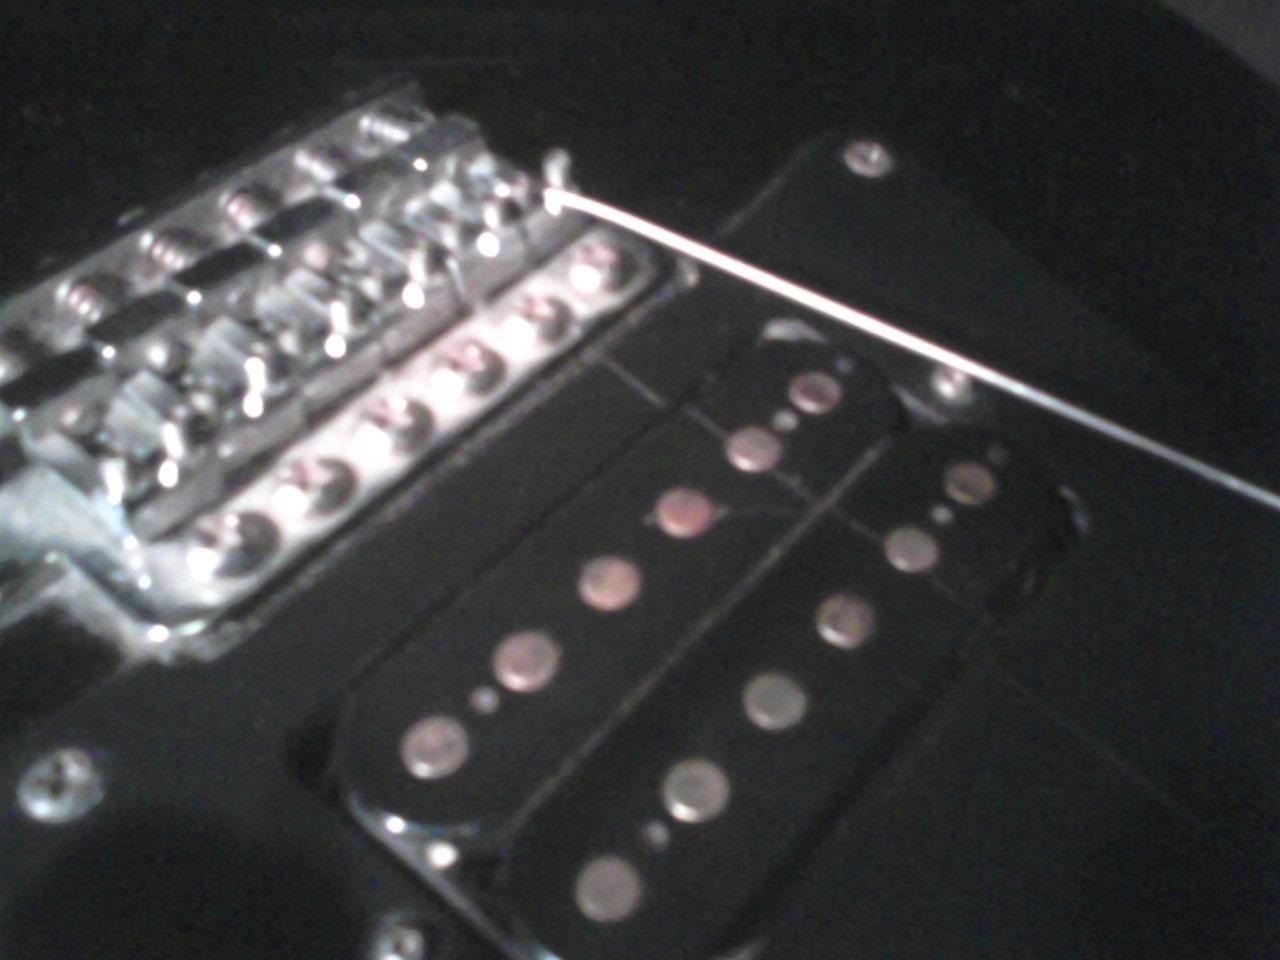
as you see, it should come up through the hole and you can then pull it across the bridge (that big silvery piece). The bridge will have a groove that the string fits into, so make sure it goes there.
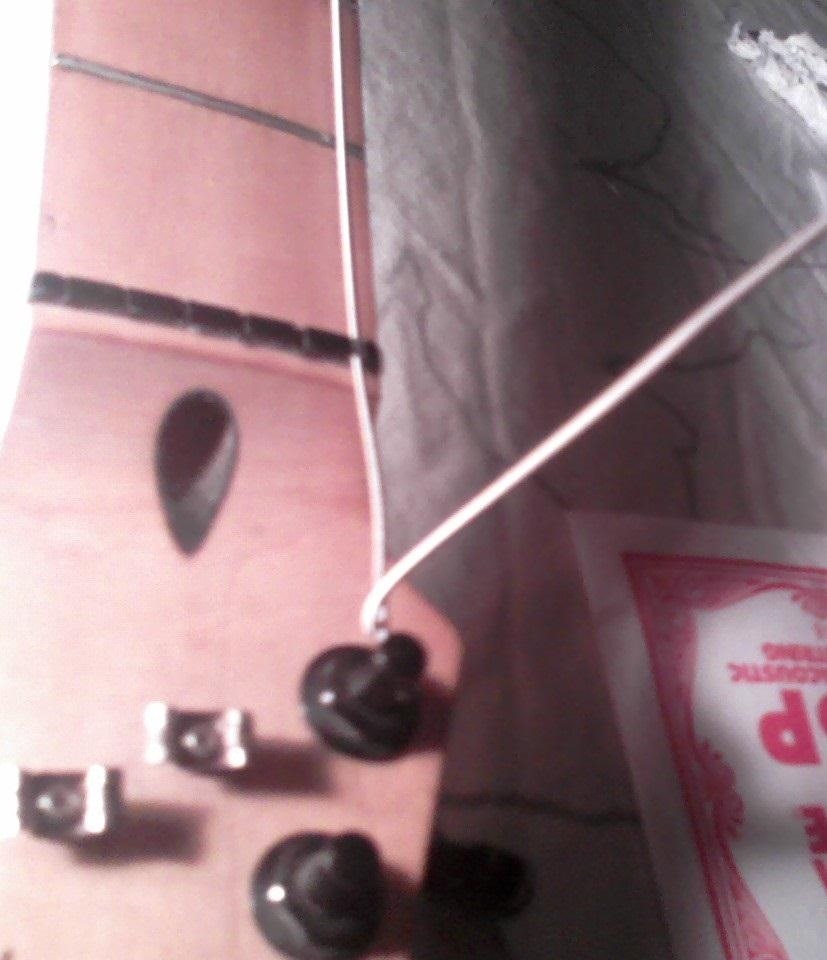
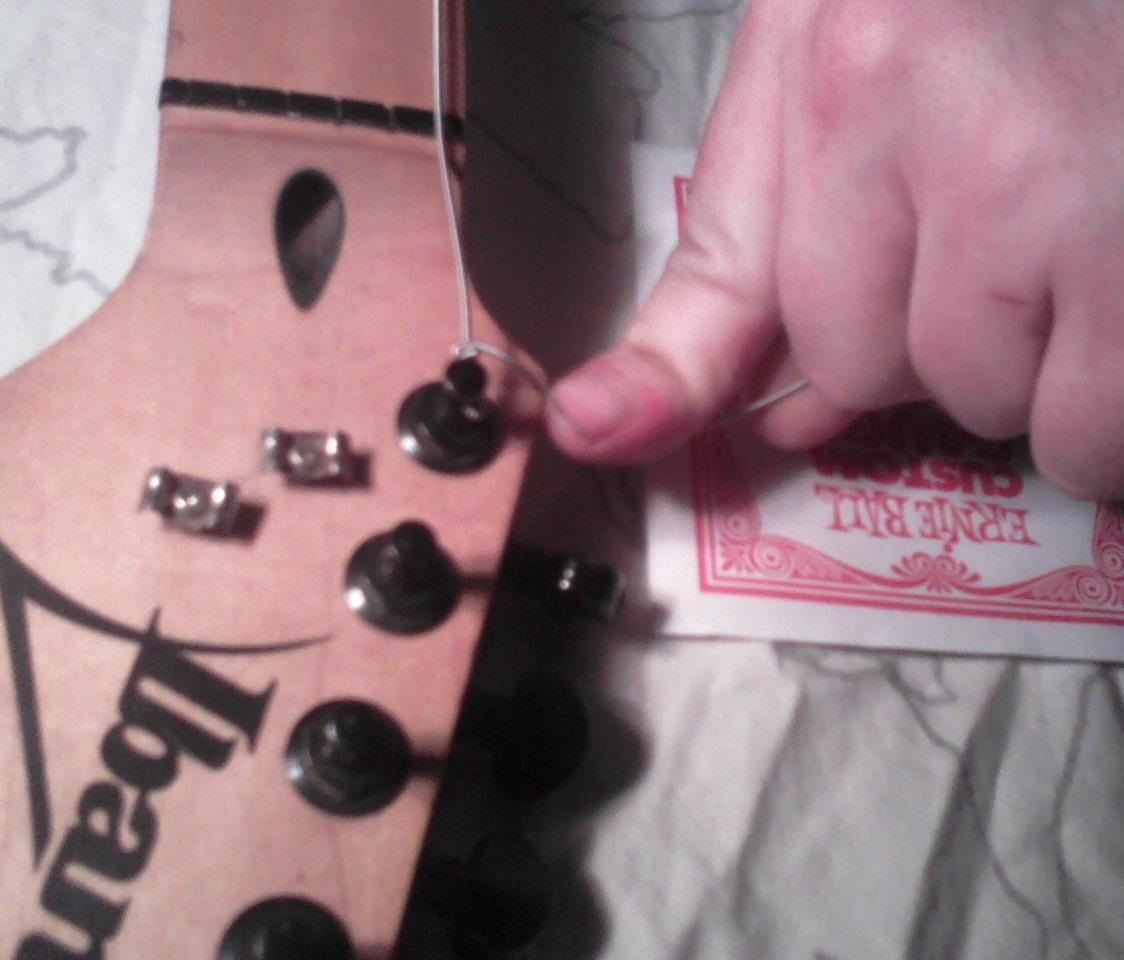
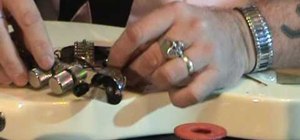
Make sure the string is pulled all the way through, and then go to the non-button end of the string. Those pegs at the head of the guitar have holes in them. put the end of the string through the top peg:
Now then, you have probably noticed the little bar with six notches in it, just below the head. This is called the "nut". I have no idea why, since it resembles neither a peanut nor a testicle. Anyway, just make sure that the string fits into its groove like so:
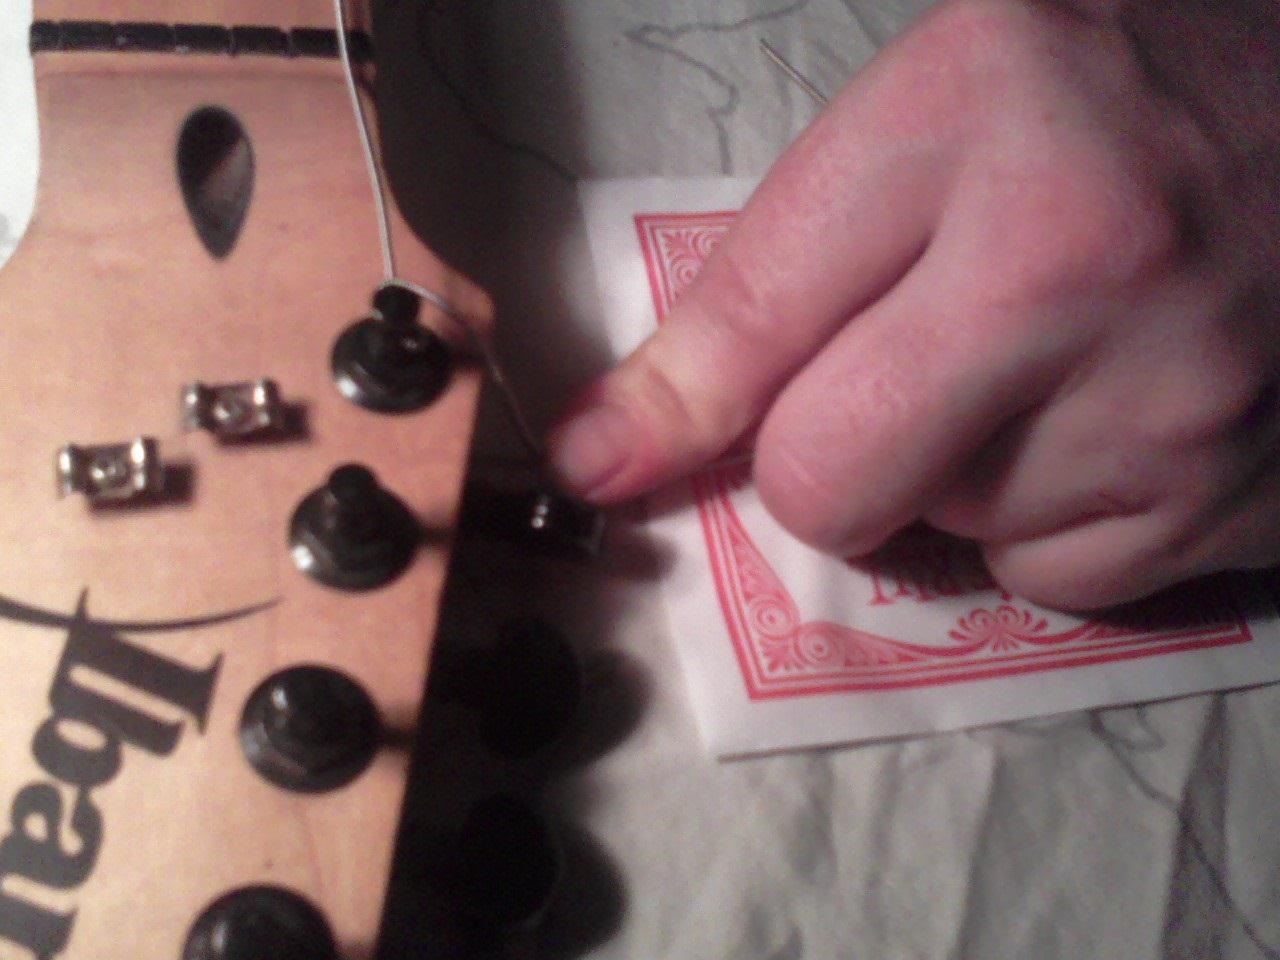
Ok, now that your string is through the peghole, you will need to stick it underneath itself like this:
MAKE SURE there are still a few inches of slack in the string, then bend it into place:
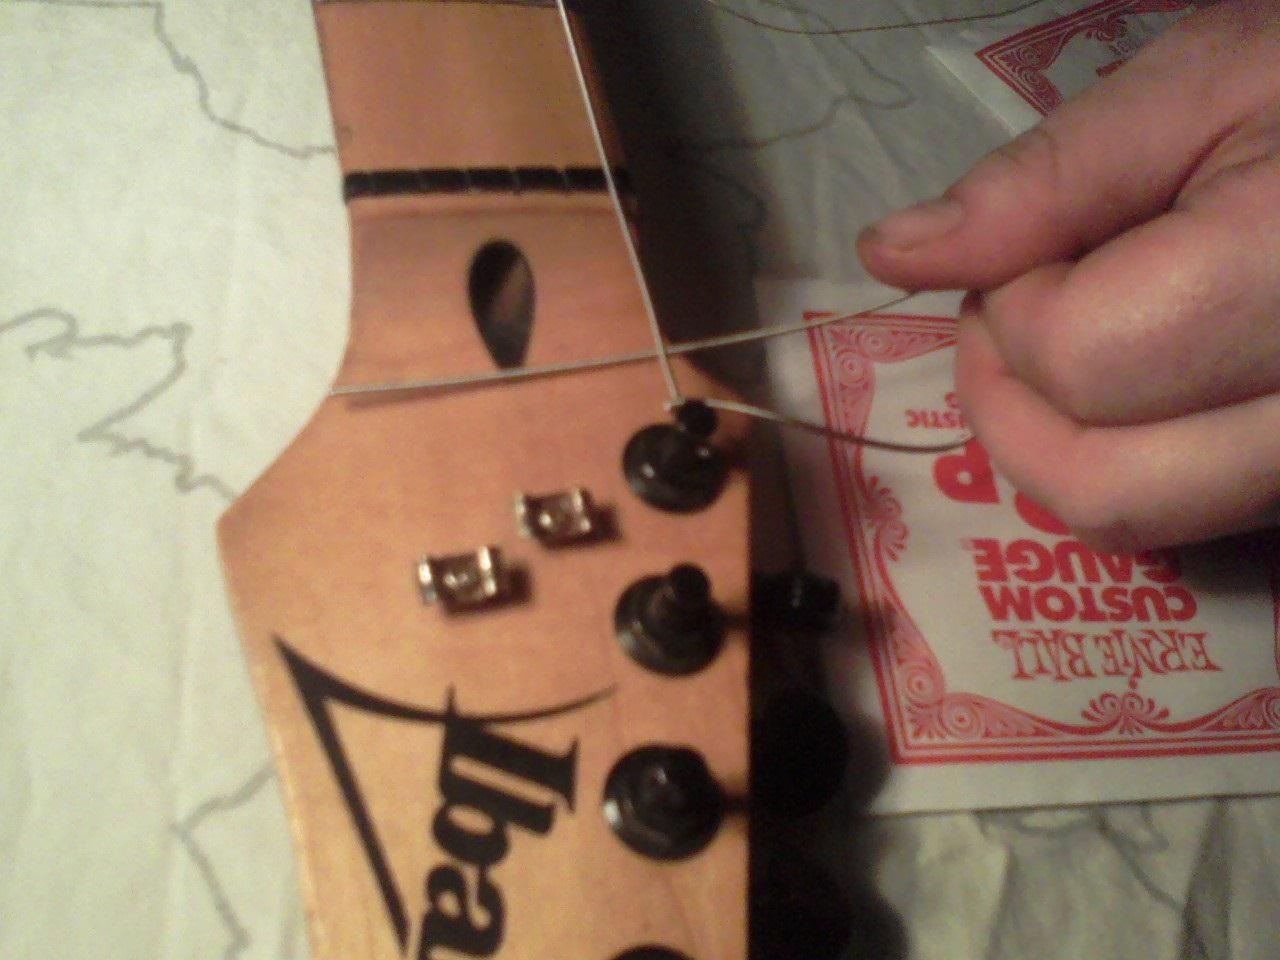
Now grab the end and pull it back toward yourself, wrapping it over itself like this:
Once again, bend it a little to keep it in place.
Now do the same thing a second time. First under:
Then over:
and bend it in place again. Now, a lot of people only knot it once, but I like to knot it twice because I find the guitar stays in tune longer when I do.
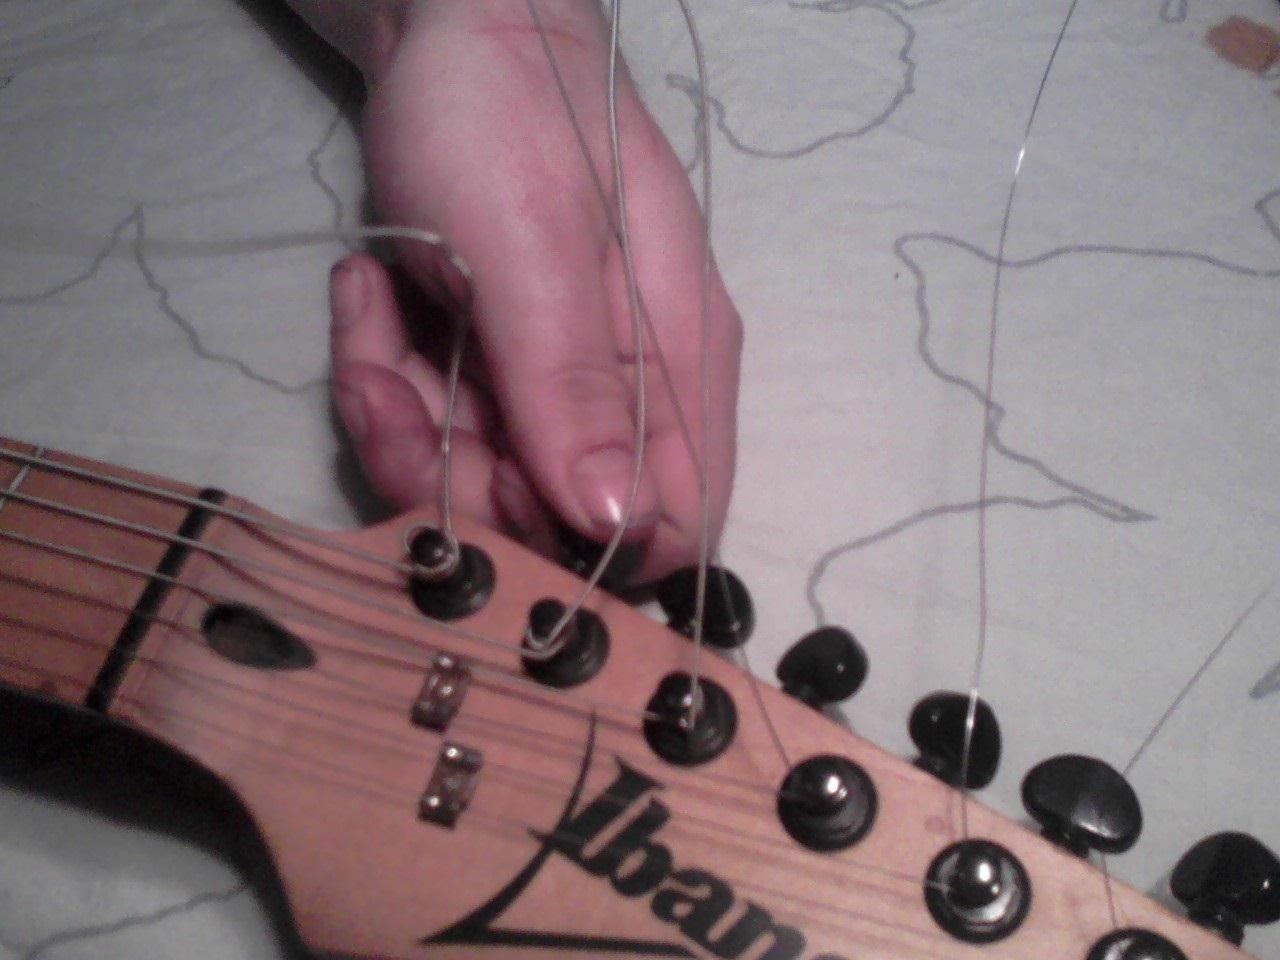
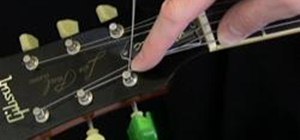
Now that the string is attached to the peg, you need to put tension on the string with your other hand like this:
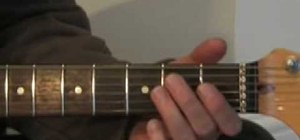
In case you can't tell, I am using my pinky and ring fingers to pull up on the string, while using the forefinger to push down on the 5th fret. Now, be careful not to put too much tension on it, or your string might break! It can happen easier than you think. So, while holding light tension on the string, start turning the peg to tighten the string up. Gradually let go of the tension as the string winds itself around the peg. As you tighten it, you will see, hear, and feel the point where the string slips and then grabs tight again. Once this happens, your string is firmly in place. Keep tightening until your pinky and ring finger barely touch the fretboard.
Follow this exact same procedure to attach the other five strings. The only curveball to consider is these little metal clips that help hold the strings in place:
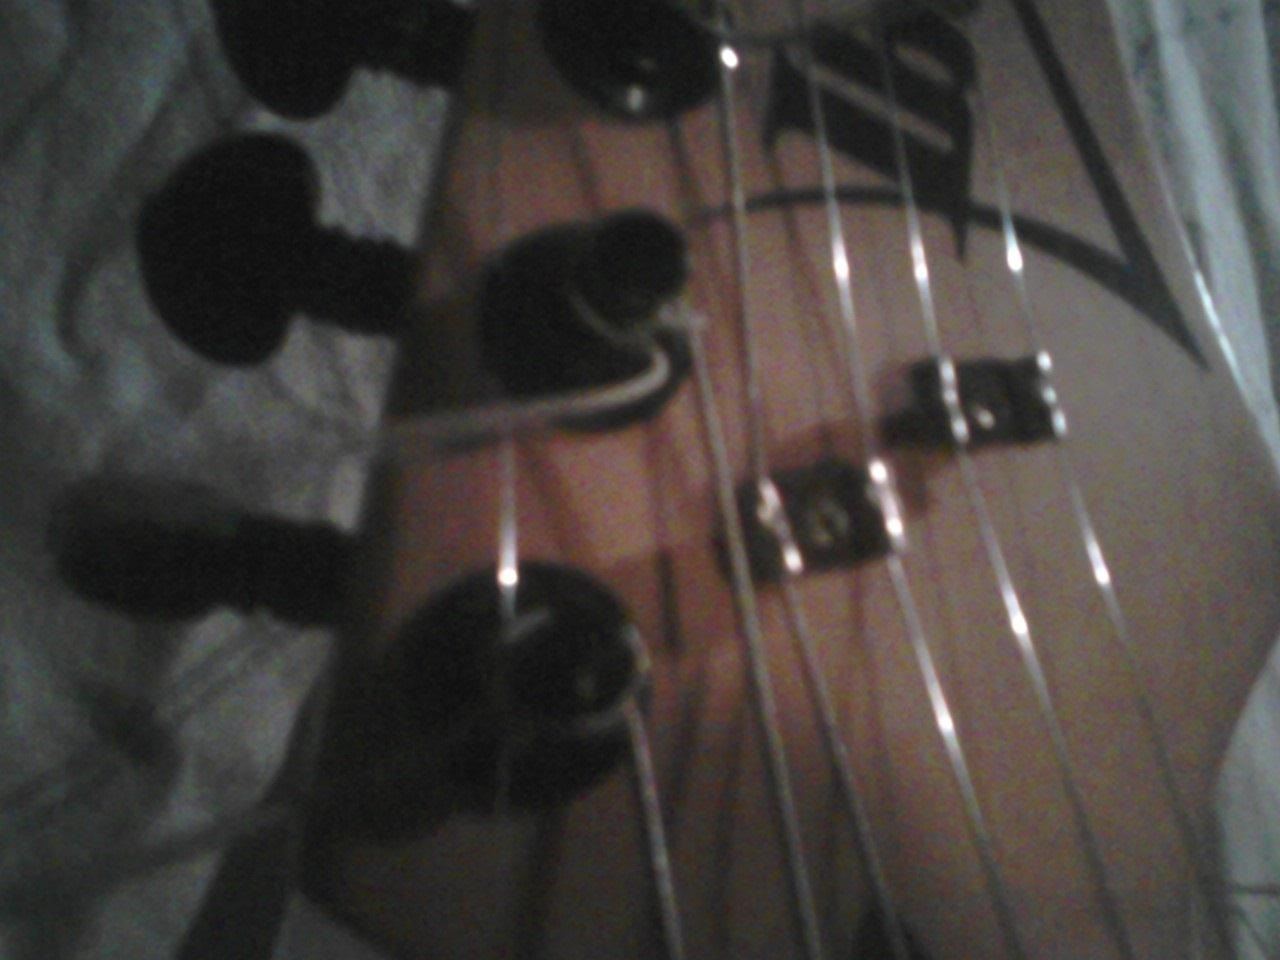
as you can see, my guitar only has them from the third string down, which is pretty typical. All you have to do is put the strings under the clips before you tighten them down.
The final step is to cut off the excess string length with a pair of wirecutters or visegrips (not everyone does this):
That's pretty much it for the actual restringing...Now all we need to do is tune this sucker and you're good to go.
Step 3: Tuning the Guitar
Ok, you don't even need any pictures for this step. There are several ways to tune a guitar, so I will tell you all of them. First, and most common, is to use a tuner. This is the easiest way, but I NEVER do it. Why? because I have a very picky ear, and a machine just cannot tune a guitar to my liking. Even if it is technically "in tune", it might not actually be in perfect tune. It might sound halfway decent, but a guitar will only sound its best when the tuning is perfect.
My method is to start by listening to a song I know. I usually use "Iron Man" by Black Sabbath because it was the first song I ever learned. If you don't know how to play it, it is all on the second string: 2-5-5-7-7-9-8-9-8-9-5-5-7-7 (those are fret numbers. If you need to know the tune of the song, it isn't hard to find)
When I play these notes in time with the song, I can listen and tell if the notes are correct. basically, if you play along with a song you know well, and it sounds like crap, you need to keep tuning. If it sounds good, you are in tune. Only trial and error will make you good at this process. You don't have to use the same song that I do, of course, but you should use a song with a very clear riff that stands out from the rest of the song so that you can hear it well. It is also best to use a riff that is played all on one string.
Once you get the hang of this, it is better than a tuner, because it uses nothing more than your own ear and a song you know. Plus, you can get much more precision in your tuning with this. Oh yeah, and in case you are worried about not being in perfect "standard tuning"...don't be. A LOT of professional musicians use non-standard tuning. For instance, Black Sabbath's guitarist Tony Iommi tends to tune all his strings down a half-step. That means the sound is just a little lower and deeper than standard. I also prefer this tuning.
Now, for the important part of all this: You only have to use the above process until you know for a fact that you have ONE string tuned correctly. Once that one string is in perfect tune, you can tune the rest of the strings to it like this:
On your correctly tuned string, put your finger on the 5th fret and hit the string. Listen closely to the pitch. When you hit the next string down, without a finger on the fretboard, it should make the same note. This is called "tuning to the fifth". Make your guitar so that every string, when plucked on the 5th fret, will match the sound of the string below it, when that string is plucked without fretting. A note which is made by just hitting the string, and not pushing down on any frets, is called an "open" note. So once again, match the 5th-fret note on every string to the open note on the string below it. I know this is confusing but let's do an example.
Start by hitting a 5th-fret note on your top string. Now, hit an open note on your 2nd string down. If those two notes match, then those two strings are in tune with each other, and so you move on down to the third string. If they do not match, adjust one of them accordingly. Start with the top string and work their way down.
So, anyway, that concludes this little task. Like most complex tasks, it will become second nature to you after awhile, so don't worry if you have trouble at first. As always, feel free to ask questions below.
Just updated your iPhone? You'll find new emoji, enhanced security, podcast transcripts, Apple Cash virtual numbers, and other useful features. There are even new additions hidden within Safari. Find out what's new and changed on your iPhone with the iOS 17.4 update.


1 Comment
Wow, you really shouldn't be telling people how to restring and tune a guitar. You really have no idea what you are talking about. First, never save old strings, and never replace a string without replacing all of the strings with new ones. Doing this will destroy the sound, especially chords. Also, when you say, "for some odd reason" that you don't know why they order the strings like "that", its because the smallest gauge string is the top string, and the largest gauge string is the bottom string. Just because the low E string is on the "top" of the set of strings does not make it the "top" string. Before you open your mouth, at least make sure you know something about whatever it is you are talking about. Oh, we can't forget your tuning "rules". Tune every string to the 5th fret of the lower string???? LOL! Helloooooooooo! Arent you forgetting something? Like maybe the G and high B string tuning? You need to use the 4th fret on the G string to tune the B string! So in closing, anyone who reads my comment, please do not read this guys anything, ever. He knows nothing of what he speaks.
Share Your Thoughts